Introduction
This guide demonstrates how to create helical curves in PTC Creo using parametric equations. You'll learn to design both standard and tapered helical springs with precise control over their geometry.
Step-by-Step Guide
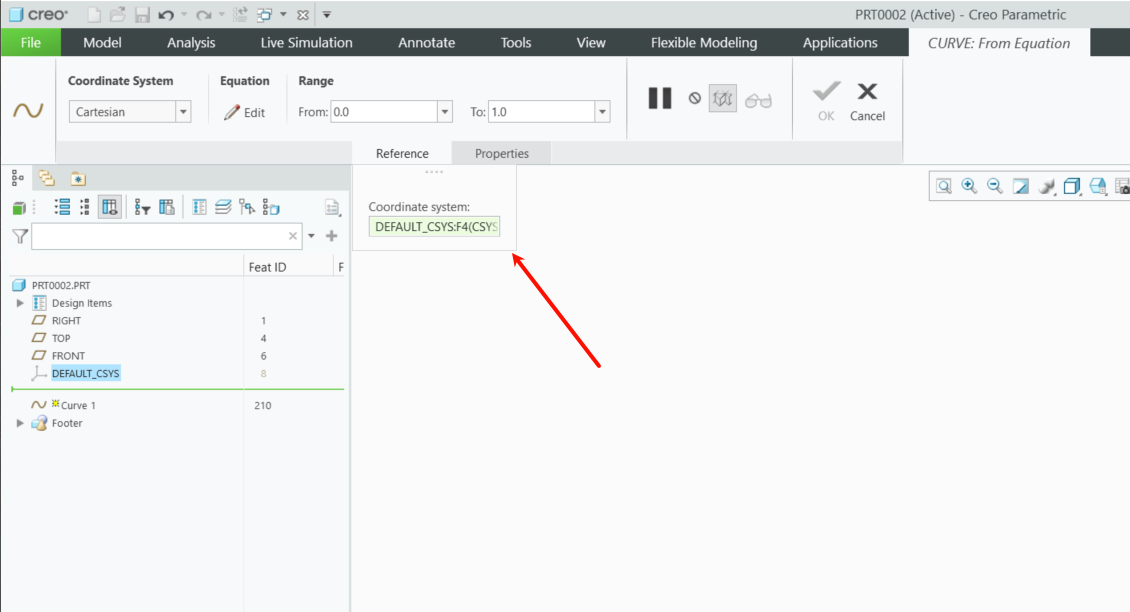
Step 1: Creating the Base Circle
Begin by using an equation-driven curve. Select the coordinate system as the reference for the parametric equation, then create a circle.
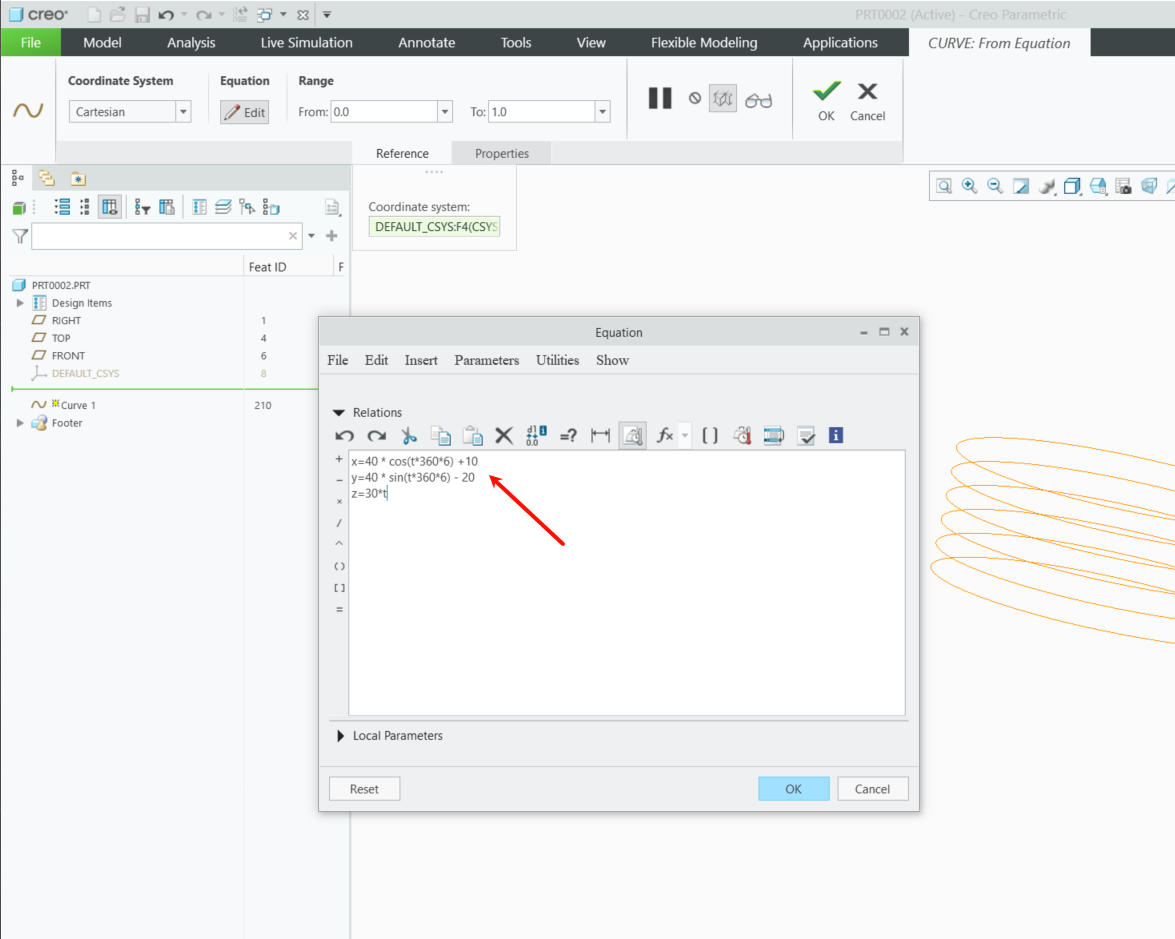
Step 2: Defining the Vertical Progression
As shown in the following figure, apply a linear variation to the Z-axis by defining it with a parameter that ranges from 0 to 30. This will generate the vertical progression required for the helical path.

Step 3: Offsetting the Circle Center
Shift the circle's center to (10, -20) by updating the X/Y equations:
- X = 10 + r·cos(θ)
- Y = -20 + r·sin(θ)
This ensures lateral offset while maintaining the helix's vertical progression.
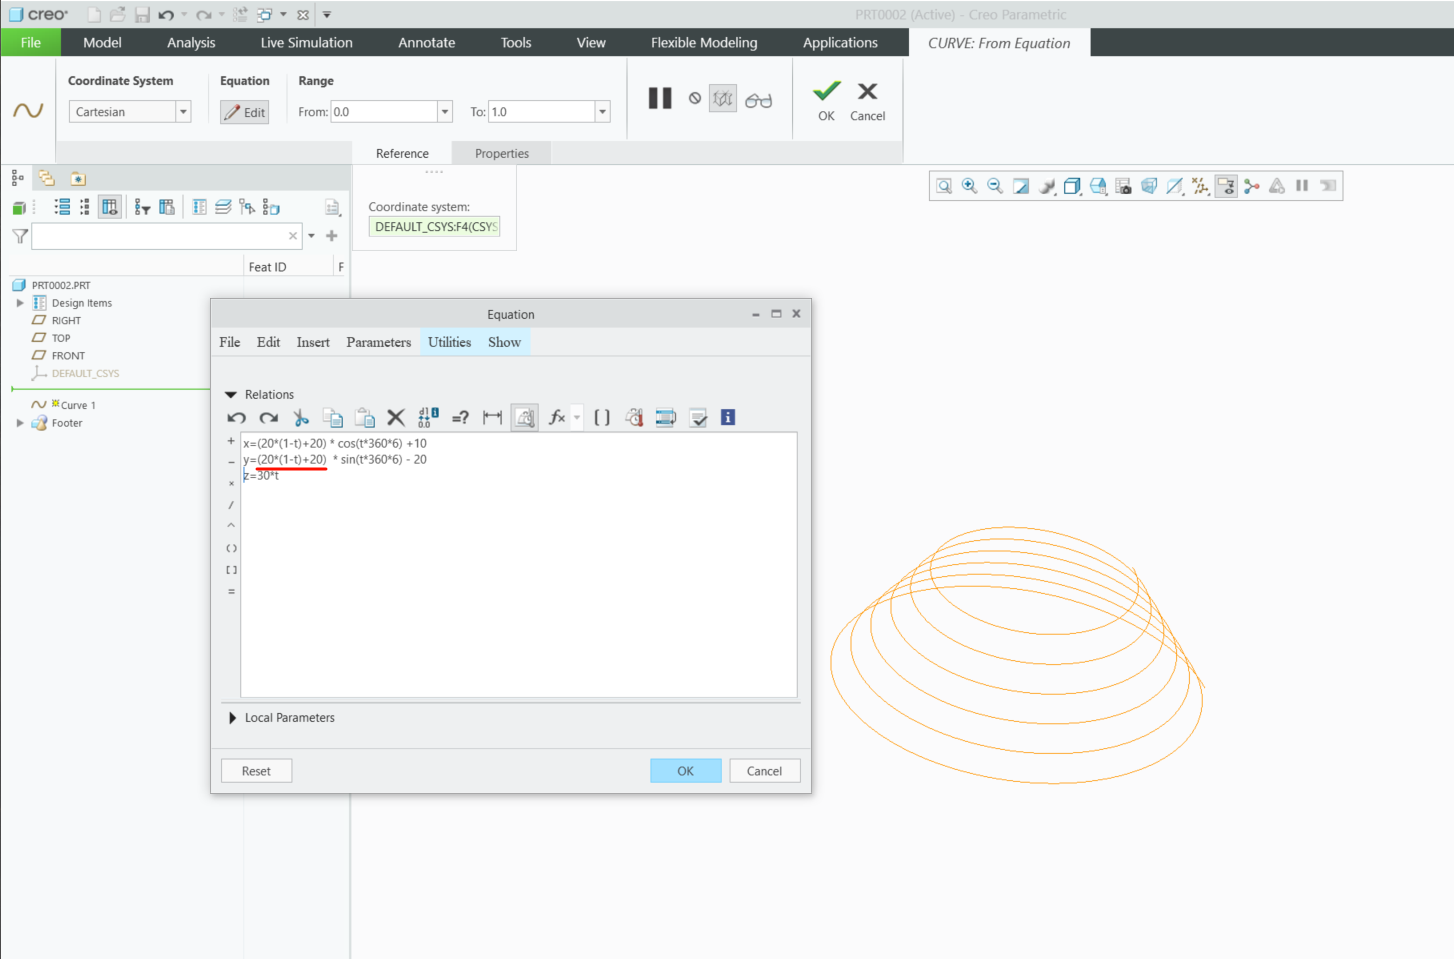
Step 4: Creating a Tapered Helical Spring
For a tapered helix, use the following parametric equations:
x = (20*(1-t)+20) * cos(t*360*6) + 10
y = (20*(1-t)+20) * sin(t*360*6) - 20
z = 30*t
These equations create a helix with:
- Linearly expanding radius
- 6 full turns
- 30-unit vertical stretch
Additional Notes
- All measurements are in model units
- Parameter t ranges from 0 to 1
- The equations can be modified to adjust the spring's characteristics